|
| Salvos find |
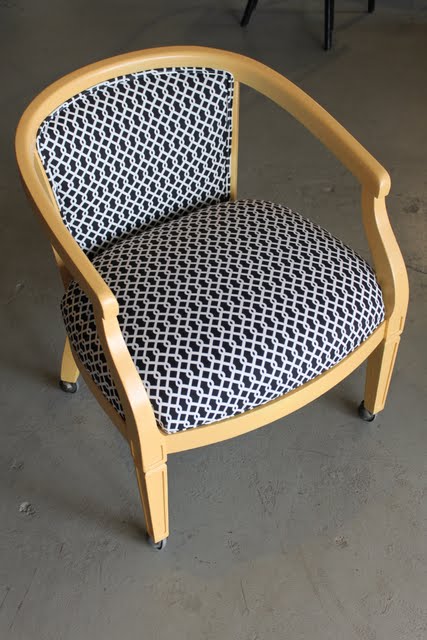
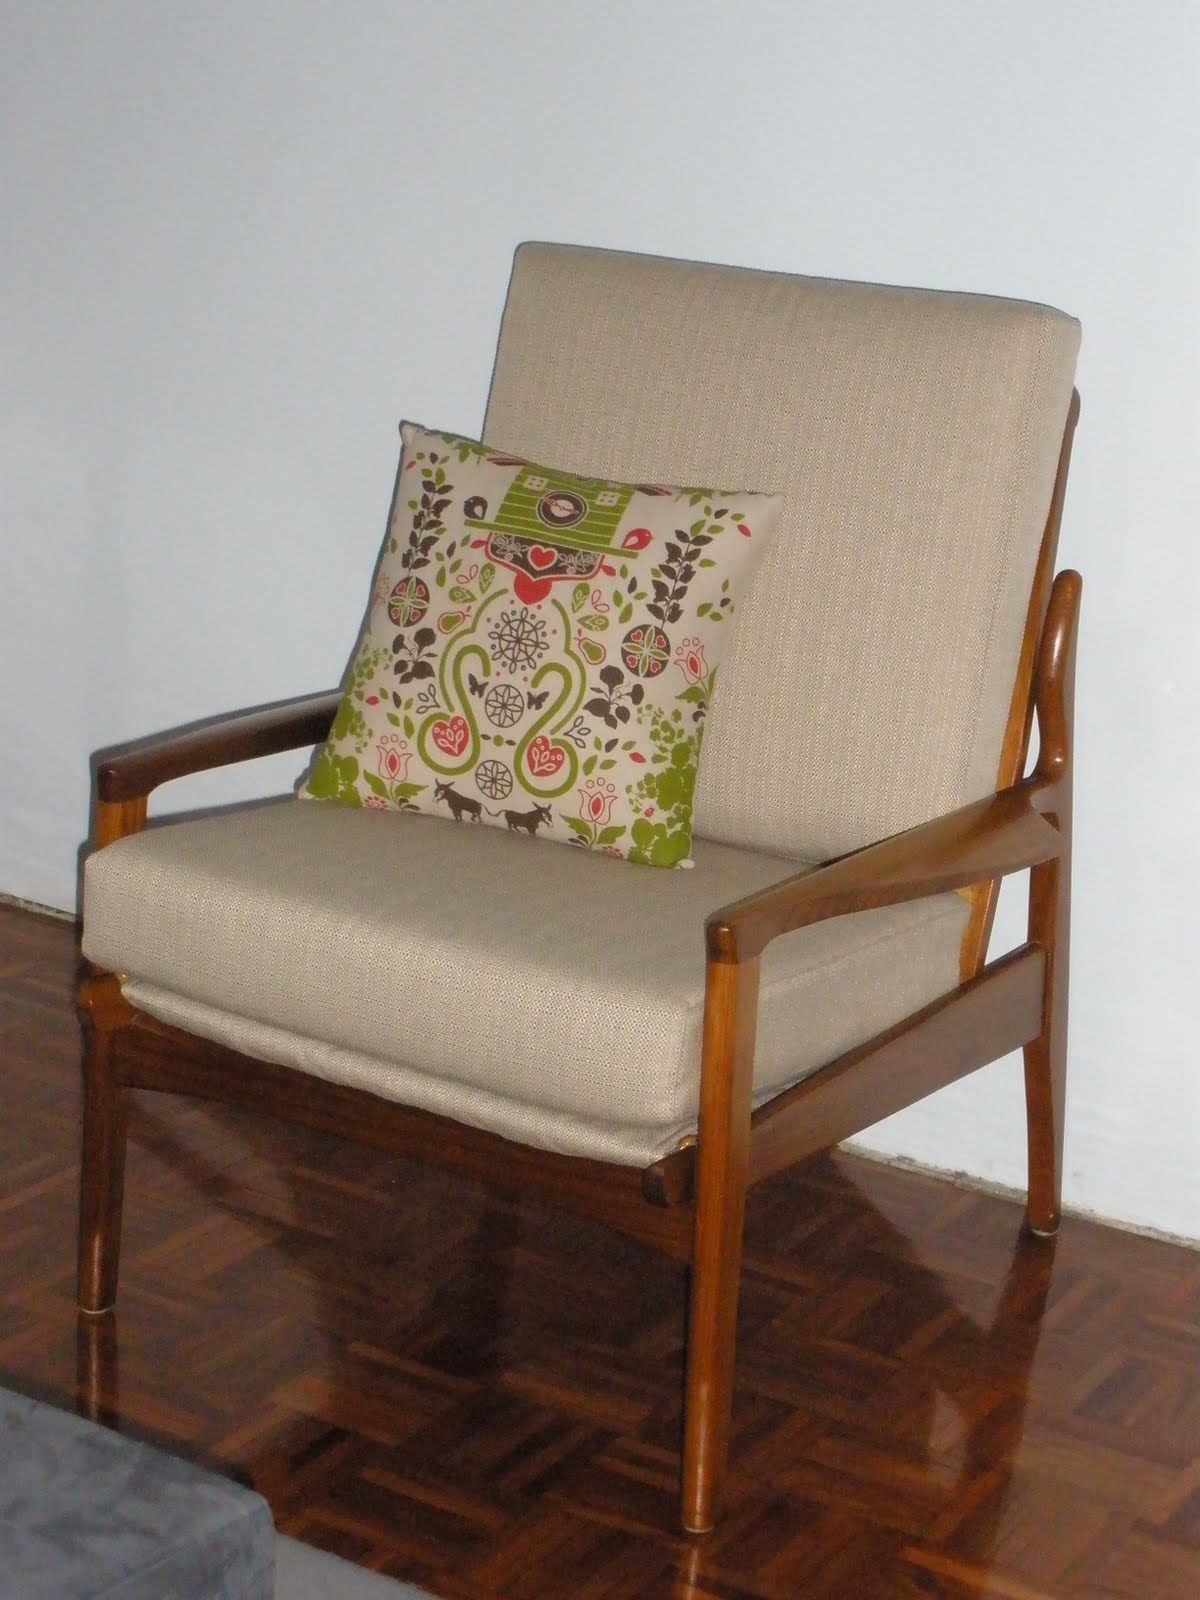
I bought this chair a few months ago from the Salvation Army. It cost $11. After changing my mind one hundred times over what fabric to use, I decided to stick with my original idea and used this beautiful Ikea fabric I had stashed away from 2008.
 |
| IKEA - Ann-Cathrine Sigrid Stahlberg 2008 |
After some cleaning with soapy water, I decided that I would not be painting this chair. I liked the beech colour and apart from a few scuff marks (which I managed to get out with a toothbrush and some warm soapy water) the chair was in great condition.
 |
| The tools come out...... |
So began the task of pulling it all apart. Starting with the fabric covered piping that went around the chair to hide the staples.
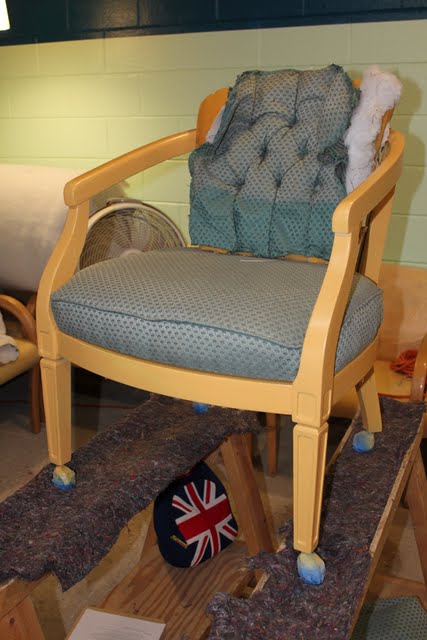
Taking off the cream coloured fabric was easy as it was very old and had some worn out sections. That revealed this tan/green striped fabric which was also ripped
 |
| Chair after some cleaning |
Finally I was left with this layer of sponge which apart from a tiny section on the corner of the chair, was also in good shape. So I decided to stop here and gave the sponge a good vacuum.
Using the old cover as a template, I traced out the shape leaving a 2.5cm (1 inch) allowance. I also used my brand new pinking shears. These come in very handy when cutting fabric. If you don't have an over locker, these are the next best thing as they help stop the fabric from fraying too much.
Once cut, I lay the fabric back on the chair and used some tape to hold it in place. Then began the fun part, the staple gun work (my favourite).
This part is what needs lots of patience as you need to secure the fabric by placing a staple in the middle of each side of the chair first. Once that is done, take it one section at a time and tightly pull the fabric and staple as you go. I like to stop every couple of staples and make sure that the fabric has not moved and there are no creases. I then covered the staples with the piping I made earlier. This was the hardest part of the chair makeover. I used this
very easy tutorial which helped immensely!
So here is the finished product:
Very pleased with how it turned out and of course now I have even more chair love than before.....if that is even possible!