Showing posts with label tutorial. Show all posts

Wednesday, April 4, 2012

Quick Crafty Project :: Mini Paper Bunting

A fun little project that anyone can make. You don't need any special tools. This could have easily been made using a pen/pencil/marker to write the message on each little flag. However, if you are feeling a little bit more crafty and you have access to some lettering stamps and ink, then go for it!


Materials I used:

* card stock/paper
* scissors
* wooden skewers
* twine
* hole punch (I used a single hole punch but a two hole one is fine )
* lettering stamps
* stamping ink (my colour was Harbor Blue by ColorBox)

Step 1:   Draw and cut out a template flag of your chosen size and shape.  Mine were tiny ones measuring about 3cm wide by 3.5cm long.  Once I was happy with the size, I used that template to trace onto the card stock/paper.  I used scrapbooking card stock in various patterns and shades of pale blue.

Step 2:   Once you have cut out enough flags for the message you wish to write, line them up and get ready for the stamping!
Step 3:  Stamp or write your message.  If using ink, make sure you let each letter dry before punching the hole on each corner.

Step 4:   Once you have written or stamped your letter, then take the hole punch and  carefully punch a hole on each top corner - making sure that you leave enough room between the hole and the edge of the flag.  I suggest cutting extra flags so you can try lining up your hole puncher to the edge.


Step 5:   Once you have punched 2 holes on each flag, then you simply thread them with the twine (use more twine than you need as you can always cut the excess away).   Then tie each row of flags to the wooden skewers.  I used 2 cups to hold the skewers in whilst I did all all the tying.  


Tadaaaaa.  Its done!  I think the Birthday Boy was very impressed :-)   It was a fun project to do and made for a nice keepsake.

I love Birthdays.....how can you not?  When there is laughter, yummy food and cake!  happy times!

Tuesday, March 20, 2012

Wedding decorations

"Hang in there Claudes.....and take that magic concoction we mentioned"  - herbal remedy advice from Alba y  Miguel...

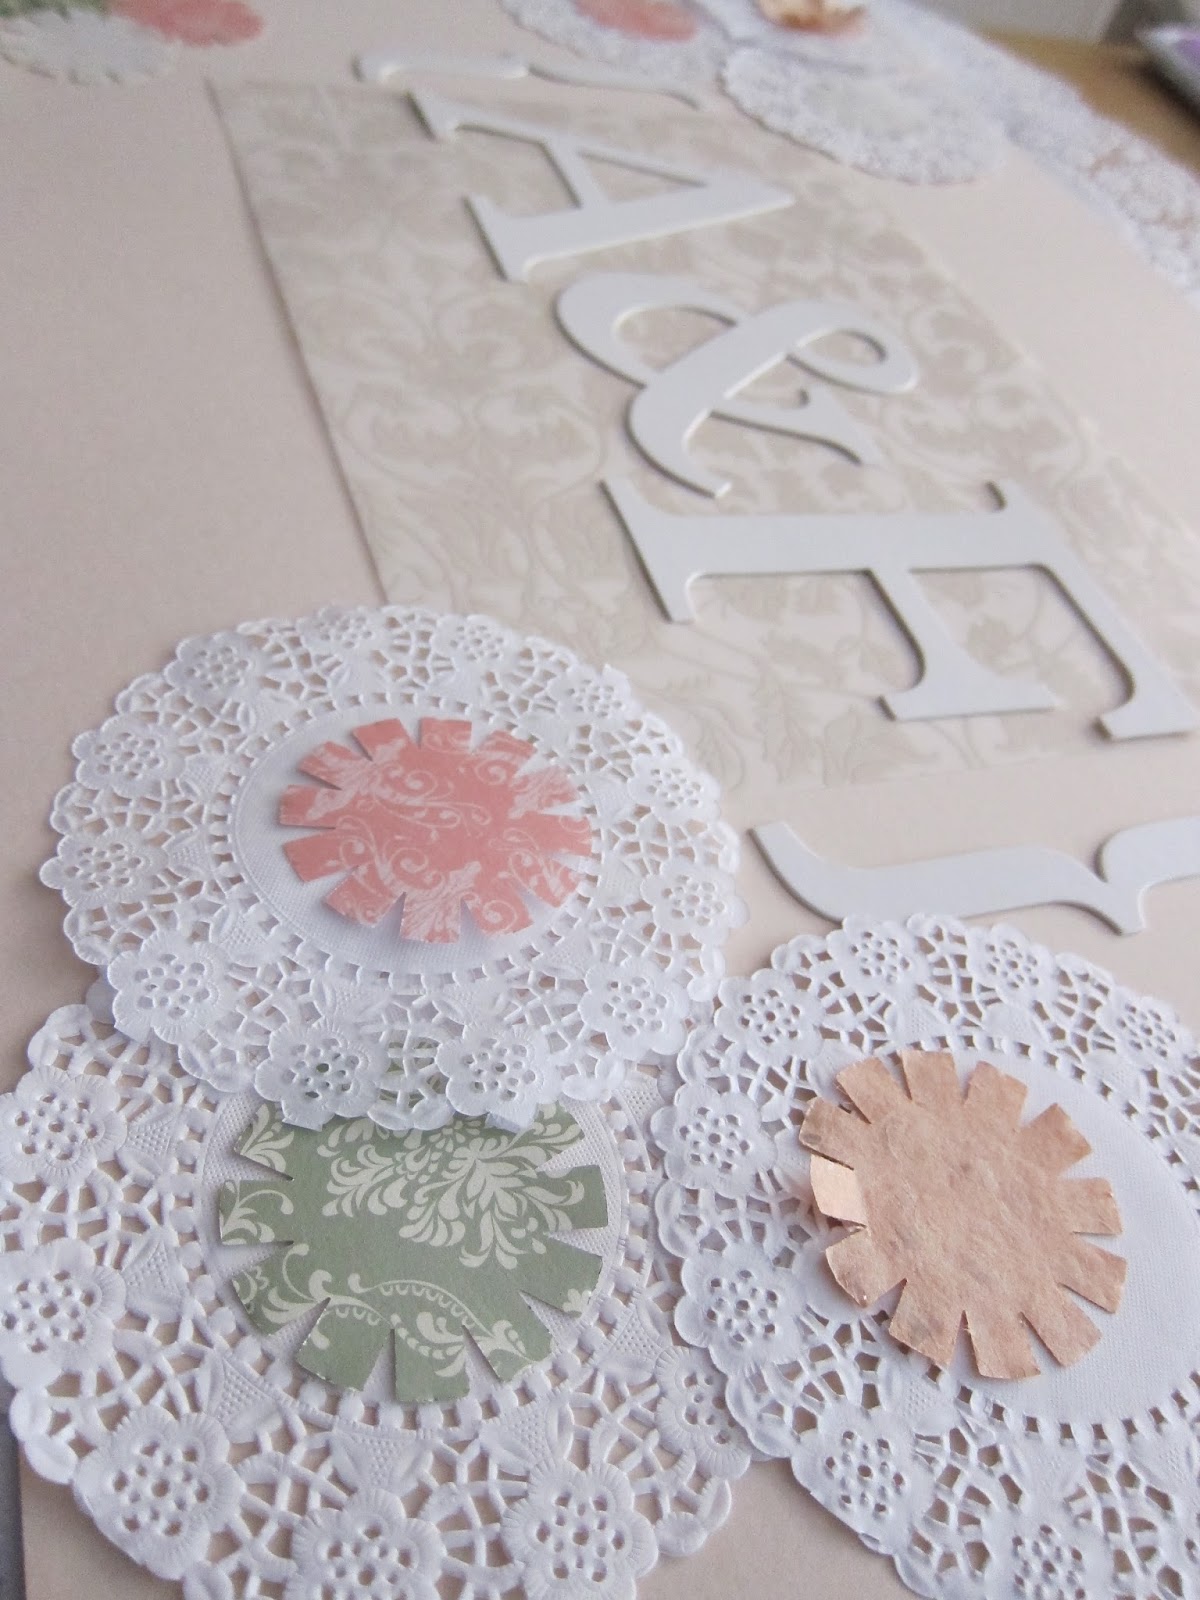
My crafty mood took a battering last week as I battled a case of the flu which really drained all energy (crafty kind included) and all I was good for was sleeping and drinking lemonade.  Even catching up on my blog reading list was a struggle. Fevers, chills and crazy nightmares took over.   However, this week I am back to feeling almost normal, which is just as well as we have a wedding to go to!  Weddings make me happy and excited.  A dose of L.O.V.E  will cure all that ails me I am sure.   I have now finished the wedding decorations for the event.   Sixty odd tissue paper pom poms in various sizes and shades of white.  Paper doily banners, felt buntings and a sign for the photo booth all now ready to go.    Here is a quick tutorial on the sign I made for the wedding photo booth:


Project:  Super Easy  Wedding Photo Booth Sign


Materials I used:
-  Foam Core for this project I used 60cm x 40cm
-  Paper doilies (various sizes)
-  Scrap booking paper slightly smaller than the foam core (for this project I used 50cm x 30cm)
-  Scrap booking letters
-  Double sided tape
-  Paper punch
-  Scissors
-  Twine


Step 1:   I cut long strips of double sided tape and placed them along the edge of the foam core and one strip across the middle.  I then placed the paper doilies around the foam core to form a pretty scalloped edge.  I placed the cream coloured card stock to cover up the remainder of the doilies. (I did not take a picture of that step but you will see below what I mean).


Step 2:  Using my paper punch I cut out these little shapes from various scrap booking paper sheets.


Step 3:   Using double sided tape I stuck these paper cut outs to the centre of the paper doilies.


Step 4:   The rest was as easy as placing the various elements - Scrap booking Letters, doilies, paper cut outs etc - using double sided tape to stick them to the foam core.  Finally using some tape to secure the twine to the back of the foam core ready for hanging.


Here is the finished sign:


Sorry the photos are a little dark. I finished this project late in the evening.....you have to take advantage of the creativity when it hits you.  


Friday, September 3, 2010

Project #3 - Wall art

This project came along after we purchased our apartment.   Having a small space we knew that we would have to be very selective on what we had in our space.  So we decided everything had to be pretty things we loved to look at and as much as possible handmade.  So here is the result!

giving old frames a second chance.....

I collected many old (and sometimes broken) frames from household clean up days, second hand shops and some cool big broken bits of frame from here for just $1!    A little bit of glue/nails and some white paint helped to bring them all back to life.  We have used them to display pictures, post cards, recycled birthday cards, photos, original works of art by Martino and some Etsy purchases.    Dad also helped us by making some wall shelves to help display the frames.   They are similar to these you can find at Ikea.

Project 2 - Wall Art

Materials:

old picture frames (preferably wooden)
spray paint
newspaper or plastic to cover your work area
pieces of cardboard boxes

Step 1
 Remove the glass and all backing so you end up with the basic frame

Step 2
Spray a couple of coats of your chosen colour - allowing to dry between each coat as per the instructions on the spray can.  This needs to be done in a well ventilated area and take care to cover anything you don't want spray paint on, as particularly on a windy day, you can end up with colour in places you did not expect (i found this out the hard way - sorry to my old favourite pair of converse sneakers)

frames in all shapes and states of repair!
after glue/nails and white paint - enjoying some dry off time....

Step 3
The best part - frame your fave pictures, stationery, photos, stickers, fabric, collectibles  etc.   You can either leave the glass on the frames (i prefer without) and use old bits of cardboard for the back to hold your chosen pics in place.  I used some old shoe boxes which i cut into fit the back of the pictures and taped them down with masking/sticky tape.


This was such a fun and easy project.  Give it a go and don't forget if you ever want to show off what you made - email me your pic!

Monday, August 23, 2010

Project #1 - Pretties for your home or office desk.....

So part of my blog space will be dedicated to sharing with you all simple little crafts that I have tried making and would love to share and hopefully inspire you to try.   My craft skills are all self taught using the Internet - blogs, tutorials, videos, pod casts, newsletters etc.   The online crafting community is a very generous one with many people willing to share tips and tricks on all sorts of projects.   Ive had lots of fun making many of them.  Here is one of my favourites:

im recycled!


I made these in no more than 10 minutes.   I chose pretty papers that I had kept from my paper crafting stash.


You will need:
* aluminium or tin cans (like the ones you get your tomatoes, beans,chickpeas, corn, coffee beans etc)  Also look for cans that have ring pulls for opening.  No need to then use can opener and you have a safe, jagged-edge free can!
* paper or fabric to cover the tins  (go crazy here - newspapers, craft paper, wall paper, stationary, maps, catalogues, fabric scraps etc)
* spray adhesive  (this is my choice as its quick drying, not messy and easy to find in all craft/hardware stores- but any glue for craft will do as long -ask your local craft store helper)
* scissors


Step 1:

remove the labels as well as wash and dry all the tins.   If you are planning on making a few, I suggest you look for tins of different sizes and heights as they look lovely once they are grouped together

Step 2:

grab the piece of paper/fabric that you will be using to cover the tin with and lay it down on a flat surface.

Step 3:

wrap the paper/fabric around the can leaving as little or as much overlap as you like to cover around the tin.  I usually leave 2-3cm.  Also measure the height of your tin and cut this to your preferred height.  I like to leave the paper to sit just above the can opening.  Its easier and looks neater.

Step 4:
once you have all the coverings cut to size. Head outside and spray the adhesive on the back (or wrong side) of your chosen covering.  For me its easier to do this one can at a time.  Also good idea to be in a well ventilated room or outside as per the instructions on your chosen adhesive - some of these are stinky!  

Your new holders are ready to use!   

Super easy,  fun and a great way to recycle cans and any bits of paper/fabric/materials that you have been holding onto (or like me hoarding for years).   You can use these to hold all sorts of fun things like your pencils, crayons, pens, paint brushes, rulers etc


the finished product - making my craft desk neat and pretty!
if your tin has a lid - then cut out paper to fit the inside of the lid and you have even more pretty places to display things on your desk!

Enjoy!


ps - if you ever want to share pictures of similar project you have tried, please feel free to email me pictures and i can put them up on this blog to inspire others to give it all a go!