
 |
| "Hang in there Claudes.....and take that magic concoction we mentioned" - herbal remedy advice from Alba y Miguel... |
My crafty mood took a battering last week as I battled a case of the flu which really drained all energy (crafty kind included) and all I was good for was sleeping and drinking lemonade. Even catching up on my blog reading list was a struggle. Fevers, chills and crazy nightmares took over. However, this week I am back to feeling almost normal, which is just as well as we have a wedding to go to! Weddings make me happy and excited. A dose of L.O.V.E will cure all that ails me I am sure. I have now finished the wedding decorations for the event. Sixty odd tissue paper pom poms in various sizes and shades of white. Paper doily banners, felt buntings and a sign for the photo booth all now ready to go. Here is a quick tutorial on the sign I made for the wedding photo booth:
Project: Super Easy Wedding Photo Booth Sign

Materials I used:
- Foam Core for this project I used 60cm x 40cm
- Paper doilies (various sizes)
- Scrap booking paper slightly smaller than the foam core (for this project I used 50cm x 30cm)
- Scrap booking letters
- Double sided tape
- Paper punch
- Scissors
- Twine


Step 1: I cut long strips of double sided tape and placed them along the edge of the foam core and one strip across the middle. I then placed the paper doilies around the foam core to form a pretty scalloped edge. I placed the cream coloured card stock to cover up the remainder of the doilies. (I did not take a picture of that step but you will see below what I mean).

Step 2: Using my paper punch I cut out these little shapes from various scrap booking paper sheets.

Step 3: Using double sided tape I stuck these paper cut outs to the centre of the paper doilies.
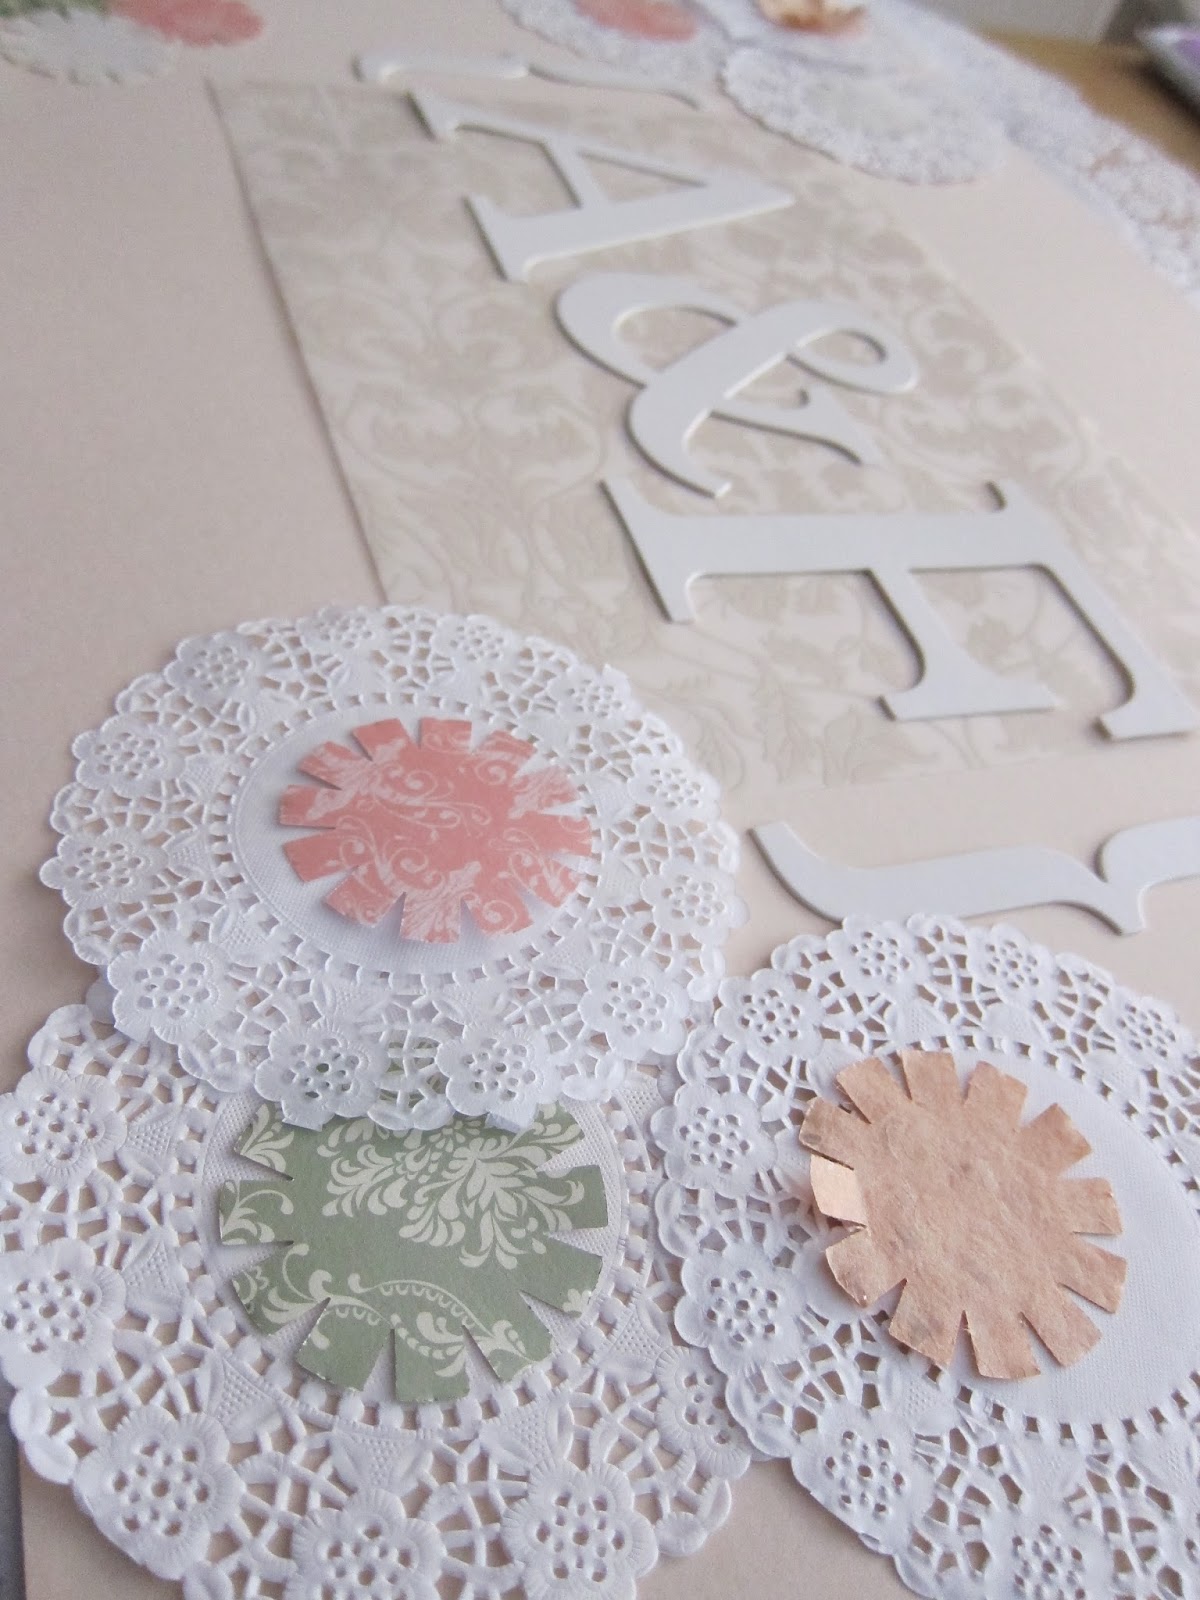
Step 4: The rest was as easy as placing the various elements - Scrap booking Letters, doilies, paper cut outs etc - using double sided tape to stick them to the foam core. Finally using some tape to secure the twine to the back of the foam core ready for hanging.

Here is the finished sign:

Sorry the photos are a little dark. I finished this project late in the evening.....you have to take advantage of the creativity when it hits you.
No comments:
Post a Comment